


Firecracker Salad


Loaded Caesar - Duke's Pubs Menu

Pimms Cup Duke's Pubs Menu
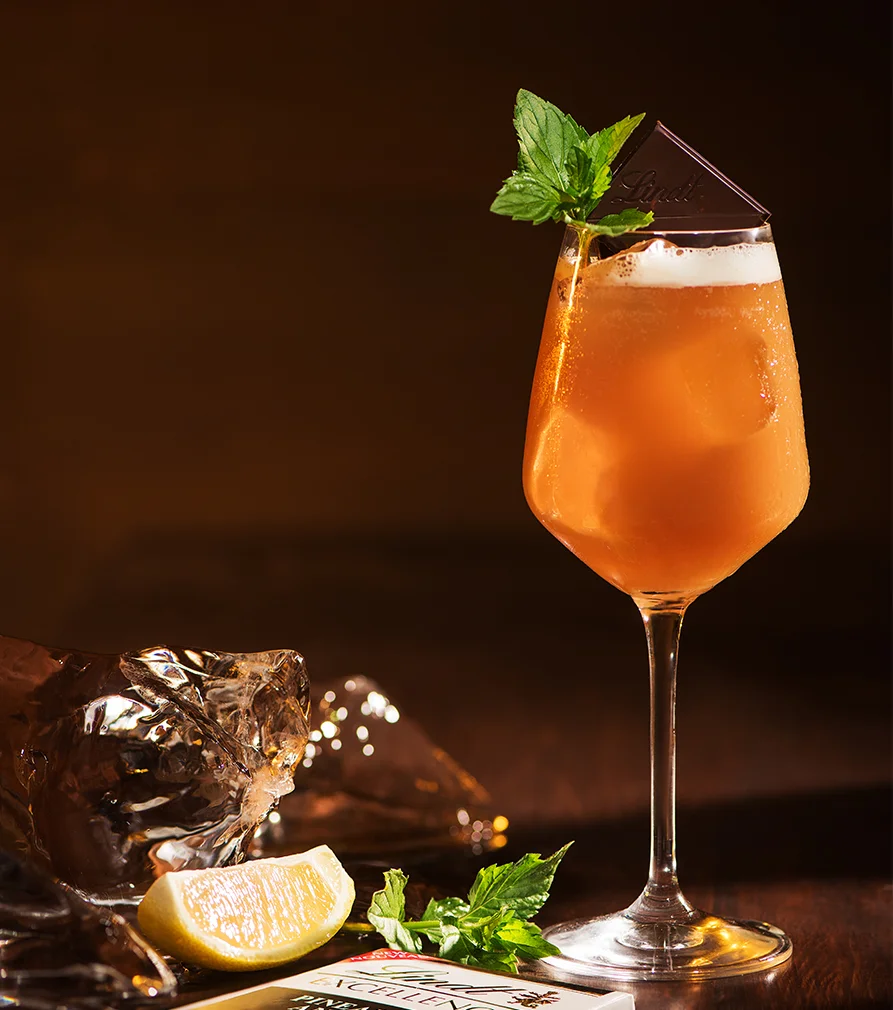
Lindt The Season Magazine


Dare Grissol Melba Toast - Packaging

Kraft USA Stovetop Stuffing


Gay Lea Nordica Cottage Cheese Ad Campaign

Lindt The Season Magazine

Lindt The Season Magazine


Firecracker Salad
Loaded Caesar - Duke's Pubs Menu
Pimms Cup Duke's Pubs Menu
Lindt The Season Magazine
Dare Grissol Melba Toast - Packaging
Kraft USA Stovetop Stuffing
Gay Lea Nordica Cottage Cheese Ad Campaign
Lindt The Season Magazine
Lindt The Season Magazine
info
/
1
2
3
4
5
6
7
8
9
10
11
12
13
14
15
16
17
18
19
20
21
22
23
24
25
26
27
28
·
·
·
·
·
·
·
·
·
·
·
·
·
·
·
·
·
·
·
·
·
·
·
·
·
·
·
·